Page 4 of 5
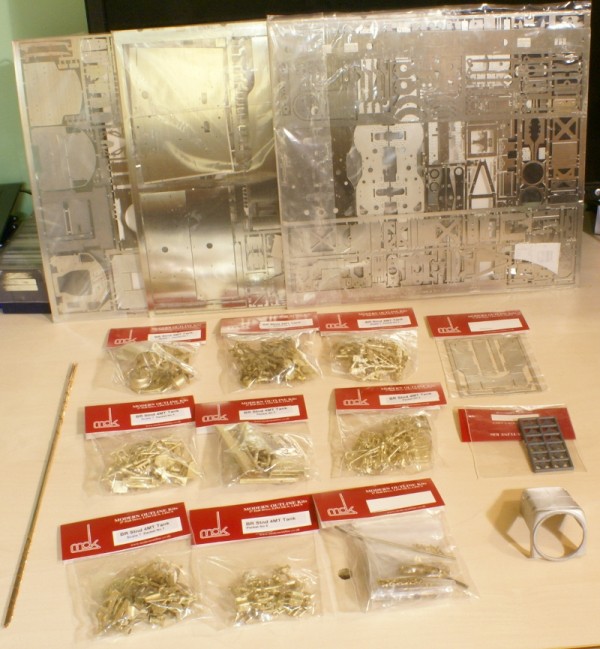
What’s in the box The kit is delivered in a rather plain un-assuming box, the first impression is the weight, it is heavy. Once opened you can see why, bags and bags of lost wax brass castings. There are 8 bags… Continue Reading →
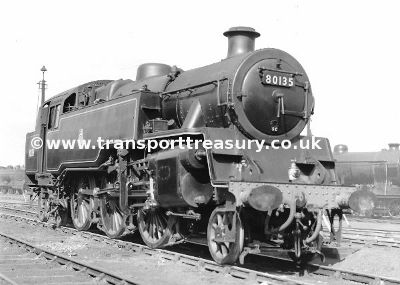
Research material for the 4MT build. For any loco build it is imperative to get some good quality period photographs to work to. For many years I have had excellent service from The Transport Treasury. They have an ever expanding range… Continue Reading →
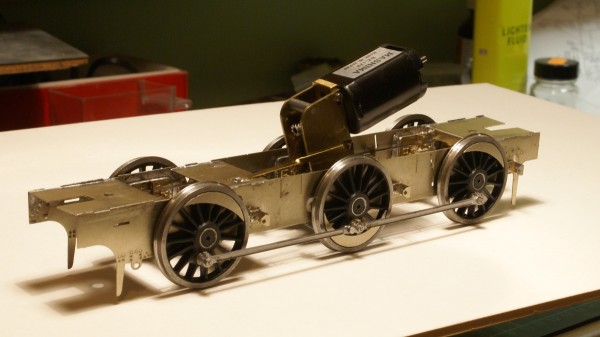
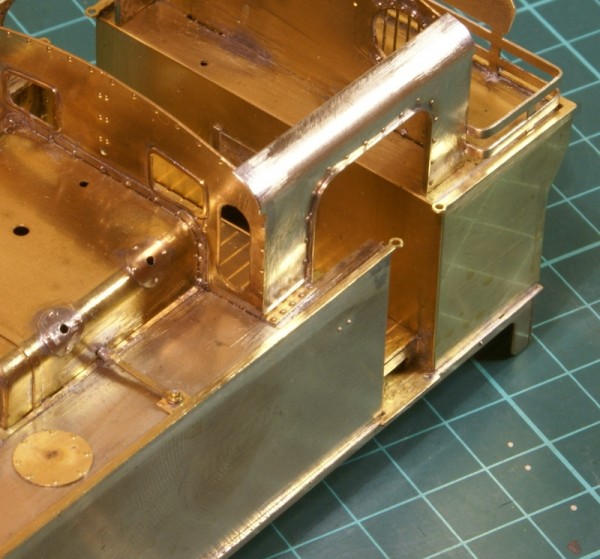
The kit as supplied will build a rigid 6 coupled chassis, however I prefer to build locos with some form of suspension. Although a rigid chassis seems the simplest option in my opinion it demands the greatest accuracy in the… Continue Reading →
Required changes building in Scale7 Overall the kit was quite simple to convert to Scale7, there were a few minor changes required but nothing significant. This is list of the items that will need to be tweaked specifically for Scale7,… Continue Reading →
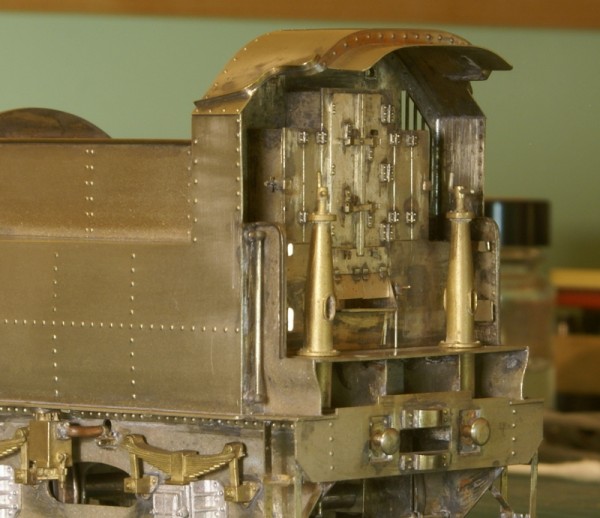
List of detailed modifications to the kit During the building of the kit I made a number of detailed modifications, some of them as a result of choosing a prototype that had the sandbox fillers on the top of the tanks,… Continue Reading →

In building the Ivatt Class 2 I came across the problem of attaching the slide bars to the motion bracket. I wanted some way for the slide bars to be easily separated from the motion bracket rather than soldering the… Continue Reading →
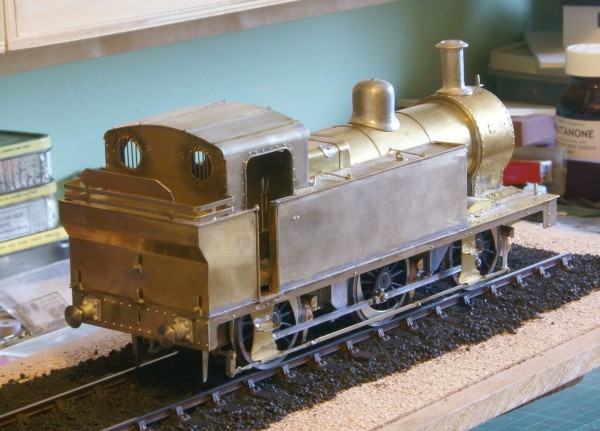
This is the loco that tipped me into Scale7 This Ivatt 2-6-0 Class 2 is my longest running project, started in 1985, and it still not finished! I started building this loco to the current practice in O gauge at… Continue Reading →

Currently on my workbench I have a part finished scratch built model of an Ivatt Class 2 2-6-0 locomotive. I chose this loco as I thought it would give me a few new challenges for scratch building and I happened… Continue Reading →
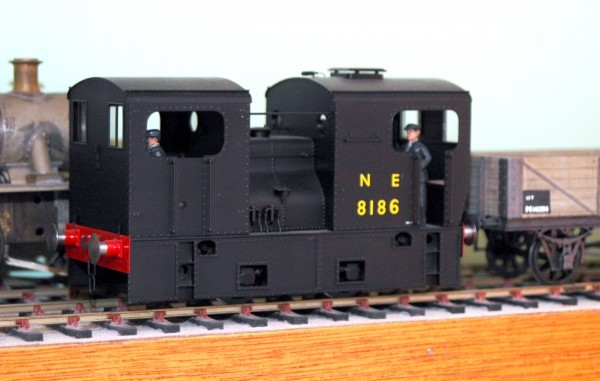
A demonstration of what can be achieved with the minimum of hand tools. In 1929 the LNER ordered two D.E.D.G. locomotives from the Sentinel factory for working the Wisbech and Upwell Tramway. These were known as Y10 class numbered 8403 and 8404…. Continue Reading →
Now that we have our item drawn out we then need to add the framing to hold everything together when it is etched.
After posting the QCAD tutorial on adding the half etched details I got a few questions via the Western Thunder forum so this extra tutorial should hopefully cover some of the items I missed.
This tutorial shows how the half etch detail is added in QCAD and the areas are filled.
Recent Comments