
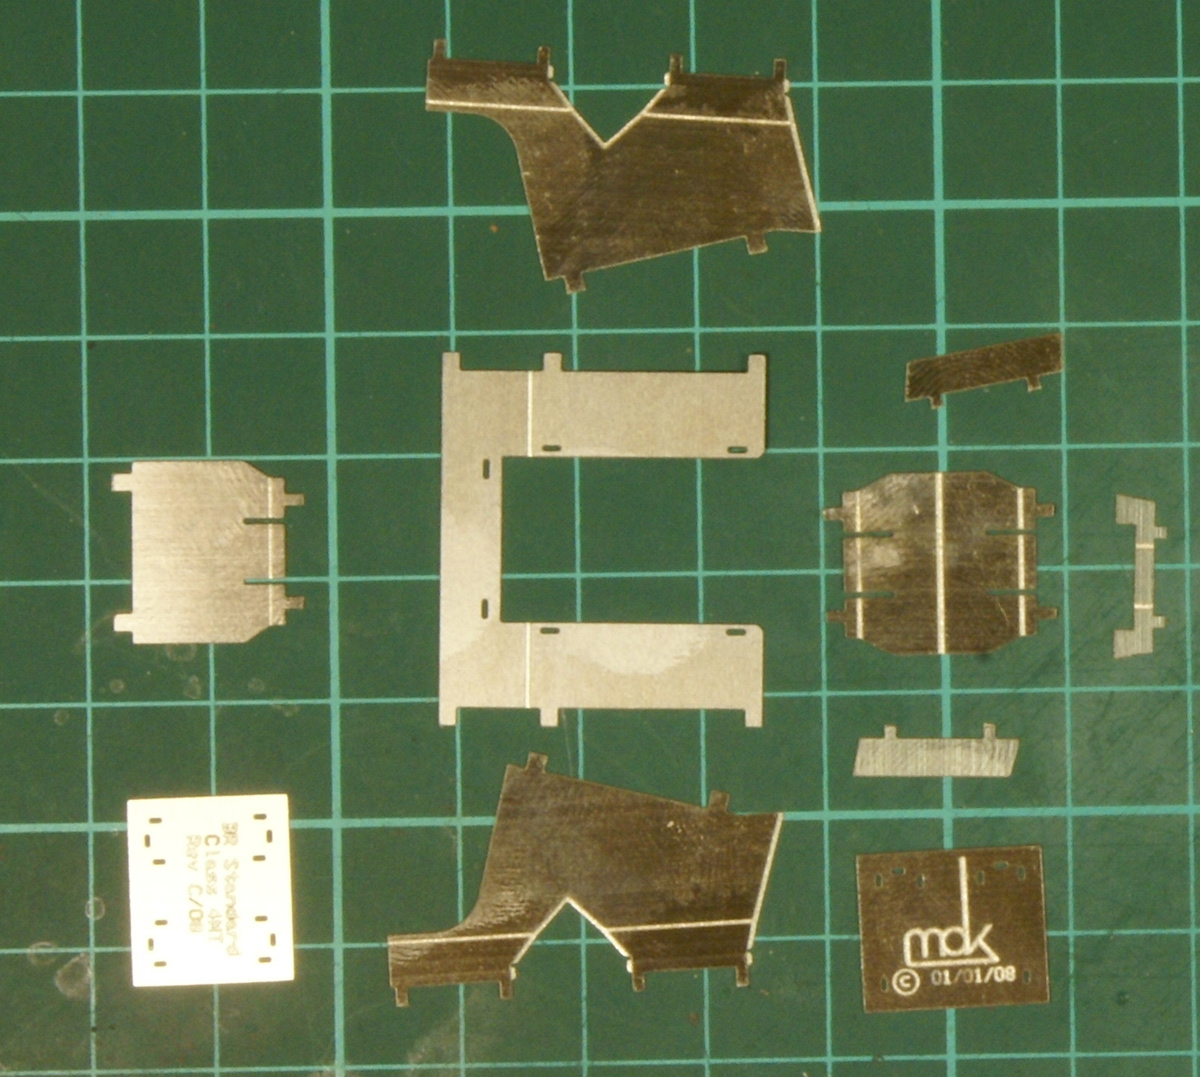
Ashpan components
The instructions start with building the ashpan. This is a good little introduction to the tab and slot construction method used in the kit.
So these are the 10 etchings required for the ashpan, which are fairly easy to assemble. The side pieces have a reverse fold to make and the centre piece has a v-fold to match the cutout in the side pieces.
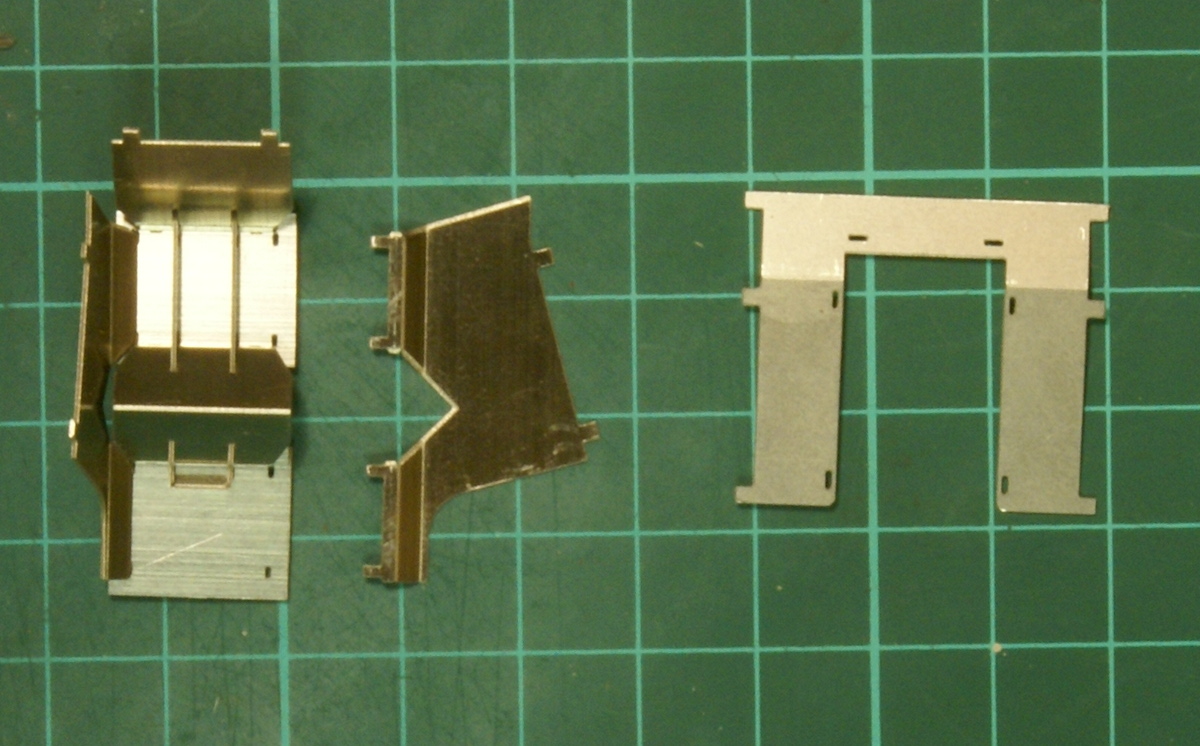
Folding up the ashpan
Once folded up the pieces virtually interlock together. Start with one side and the base plates, then attach the other side piece and finish off by putting on the top plate. It is good practice for twisting the tabs to the correct level. If you don’t twist enough or too far out then the joint can be too loose. If you get tight into the joint and twist the tab then it can distort the metal around the joint. It can all be assembled before any soldering needs to be done. A quick run round with a tiny bit of solder cream at the end is all that is needed.
That completes the first item, it can then be put to one side whilst we start the next stage.


Leave a Reply